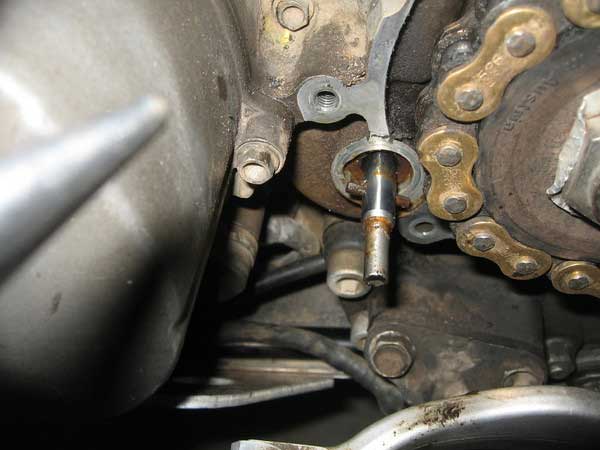
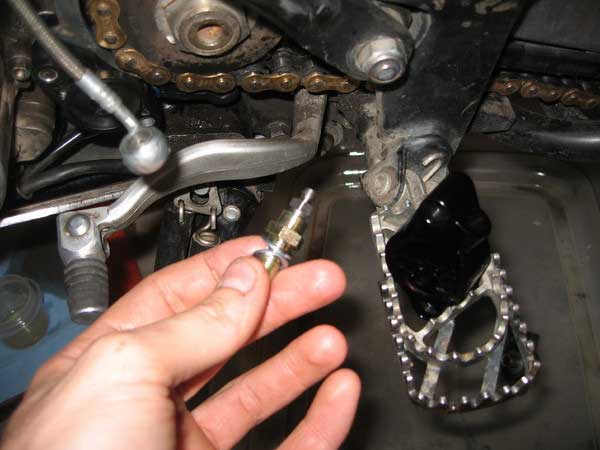
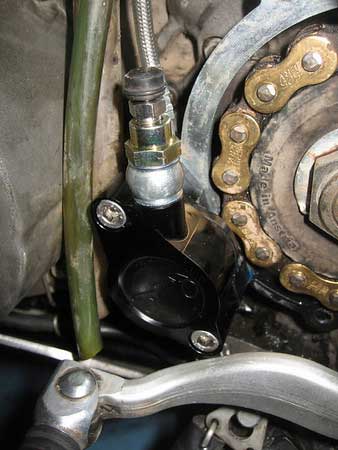
So, first remove the old slave cylinder, the plastic housing, forward chain guide and rear plastic housing from the front of the sprocket.
Clean all of the parts ready for re-installing later. They will be gunked up with chain lube for sure!
The clutch pushrod was re-designed on the later bikes, so whilst I was in there I thought it was a good idea to check how well my three year old, 28,000 miles push rod was holding up.
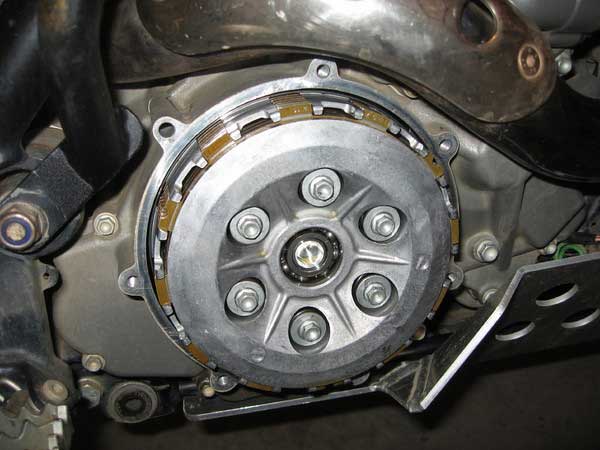
To remove the push rod you have to remove the clutch cover and the clutch pressure plate. To remove the pressure plate simply remove the six bolts in the picture shown below, remove the bolts and springs and then the pressure plate.
Then remove the through pin from the slave cylinder side and slide the push rod out of the clutch side.
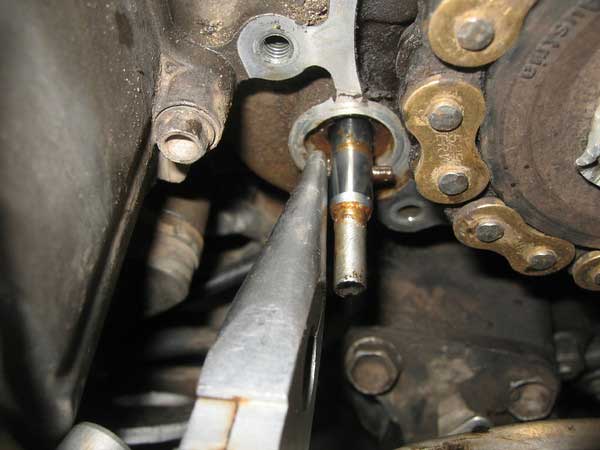
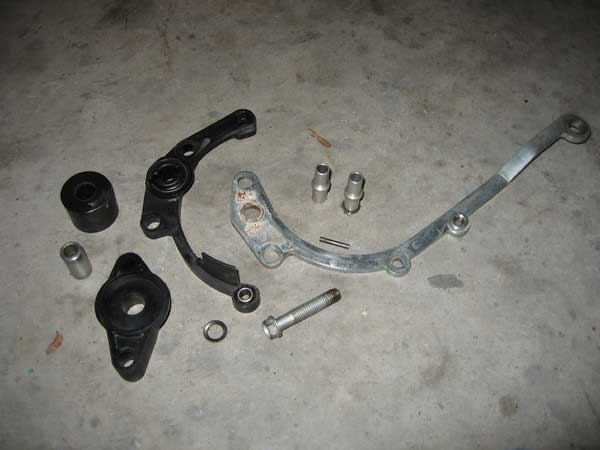
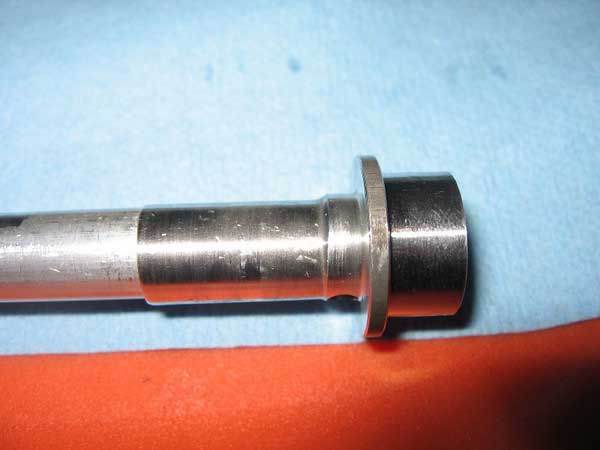
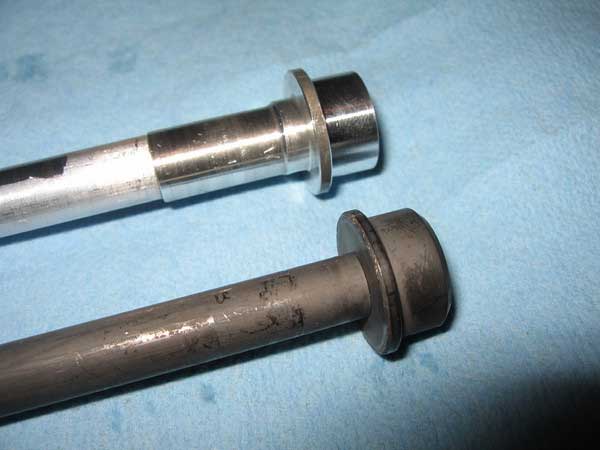
Check clutch pushrod for wear. As you can see mine had nearly warn right through the outer sleeve of the right hand section. The old push-rod is a three piece assembly, two part aluminum (clutch side) and one part steel (slave cylinder side) that runs on the needle roller bearing just behind the slave cylinder.

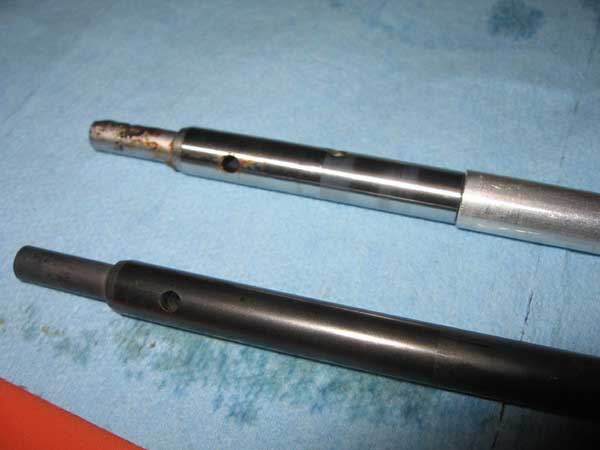
As you can see from the pictures shown below the new style push-rod is a completely new, one piece all steel design
 The new one is smaller in diameter but I think that due to the material and nothing more. I’ve heard people say it is for lubrication, so before anybody says this, here’s my take. The restriction for oil flow is the jet behind the slave cylinder, then the bearing, so the diameter of the right hand portion has nothing to do with lubrication IMHO. Down side to the new push rod.....its heavier but hey.....I'm sure you'll not notice!
Installed the new slave cylinder with the banjo bolt and crush washers provided and proceeded to bleed the system (with the master cylinder cap removed). Once bled, check fluid level and re-install master cylinder cap assembly.
And again….


Hopefully this double seal slave cylinder design will last longer than the original equipment. Evolutione even supply you with a couple of spare seals to take with you for the eventual moment. I’ll tape em inside my fairing somewhere in a vacume sealed packet.